
What age is optimum for teaching children to put their signature? Where to start the learning process? Svetlana Buyanova, a teacher from the residential school No. 1 (Moscow), elaborates on the subject.
Every individual regularly needs to put their personal signature under various documents, thus confirming their consent with the contents thereof. Sightless people also face such a necessity in their everyday lives. Persons with no visual impairments as a rule create their personal signature themselves, changing it a bit at first until it looks satisfactory, whereas sightless persons need assistance both in designing their personal signature and in forming this special skill of putting their signature under a document. Sometimes a sightless person may not apply a stamp signature or an e-signature to official documents, and in these cases people with visual impairments are required to put their signature by hand.
An e-signature allows signing digital documents. Creating an e-signature is not free of charge and requires IT assistance, moreover, such signature needs to be prolonged and modified once per 15 months.
Legal entities need an e-signature to register an enterprise or small business structures, to take part in tenders, for fiscal accounting and so forth. Note that at some point an e-signature will need confirming using signature by hand and an official stamp by a designated individual.

Audio description: a coloured photo. A person wearing jeans and a black hoody is standing in front of a gray wall. In their right hand they are holding out a small black payment terminal with a screen. The payment terminal has buttons with numbers on them and also three coloured buttons: a red one, a yellow one and a green one, all of them are arranged in rows.
A simple example of an e-signature for a physical person is a PIN code, a password, a cipher to access an app, a website or an electronic device.
A stamp signature or a facsimile is based on a personal signature and is used upon agreement when a responsible person is absent (on vacation or medical leave) as a temporary substitute. In official documents an actual signature by hand of a responsible person is obligatory.
Given this, when is the optimum age for teaching a child to sign his or her name? Reasonably, one should do it before the child reaches the age of 14, namely before obtaining a passport, because for that one requires a personal signature.
Having defined the suitable age for our purpose, we need to set aside some time especially for that. It is most practical to form the skill of signing documents during the remedial course of Social and Domestic Rehabilitation (SDR). This course is an obligatory component of The Federal Standards of Primary Public Education for Students with Health Limitations, and it is included into its remedial part. According to the curriculum, SDR lessons take place in the afternoon, and are aimed at helping children with extensively damaged vision to form knowledge and skills that visually challenged people need in order to successfully adapt in social environment and live without assistance.
Social and Domestic Rehabilitation classes dedicated to teaching sightless schoolchildren to sign their name should start about a month before they are to get passports, and later should be repeated on a yearly basis for the pupils to retain the skill until it becomes automatic.
Before the learning process begins, a teacher should clearly explain the students where and when it is safe to put their signature, and what legal power it has. Sightless schoolchildren should be informed that they, as well as any person, must learn to sign their name, that they need to put their signature in library cards, safety register, diploma issue records, marriage register, reports and claims, the passport, financial documents for getting allowances and pensions, and also in case of signing contracts with banks, in dealing with a notary public or a lawyer. Moreover, the students need to understand that before putting their signature under a document, sightless individuals must ask a person they trust to read the document out in full.
Designing a personal signature is an interesting and creative process. Signatures of sightless persons can be very unusual and graphic, which makes them unique and to some extent prevents them from being falsified.
The learning process should be broken into stages.
At first, the teacher demonstrates examples of signatures. The teacher (mentor) may design several samples of signatures for each student and make relief images of them. While doing this, one should note that a sightless person finds signatures in a single uninterrupted line more convenient, because if he or she lifts the pen from the paper, it is quite difficult to put it back in a proper point, it is hard to find it with no relief as guidance. Moreover, in designing a signature it is recommended to use the student's initials, because people tend to remember their name even in extreme circumstances (such as head injury or a stroke).
While the child is studying a relief signature sample, the teacher should draw the student's attention to the way the letters connect to one another, and to the elements that make the signature more complicated and aesthetically pleasing (vertical or tilted lines, vertical or tilted line with a hook, loops, hooks, curls, tails and so on).
Relief signature samples may be made using paint for stained glass in tubes, special contour paint for drawing on textile, modeling clay or any other material. The cards with these samples should vary in size. At first, students should be given cards with large letters, so that they may study the elements of their signature by touch or both by touch and residual vision. The teacher, obviously, must provide verbal explanation in course of such analysis. Cards with one corner cut off are more convenient for relief signature samples. When one corner of a card is missing, it helps a student to arrange it correctly for further study.
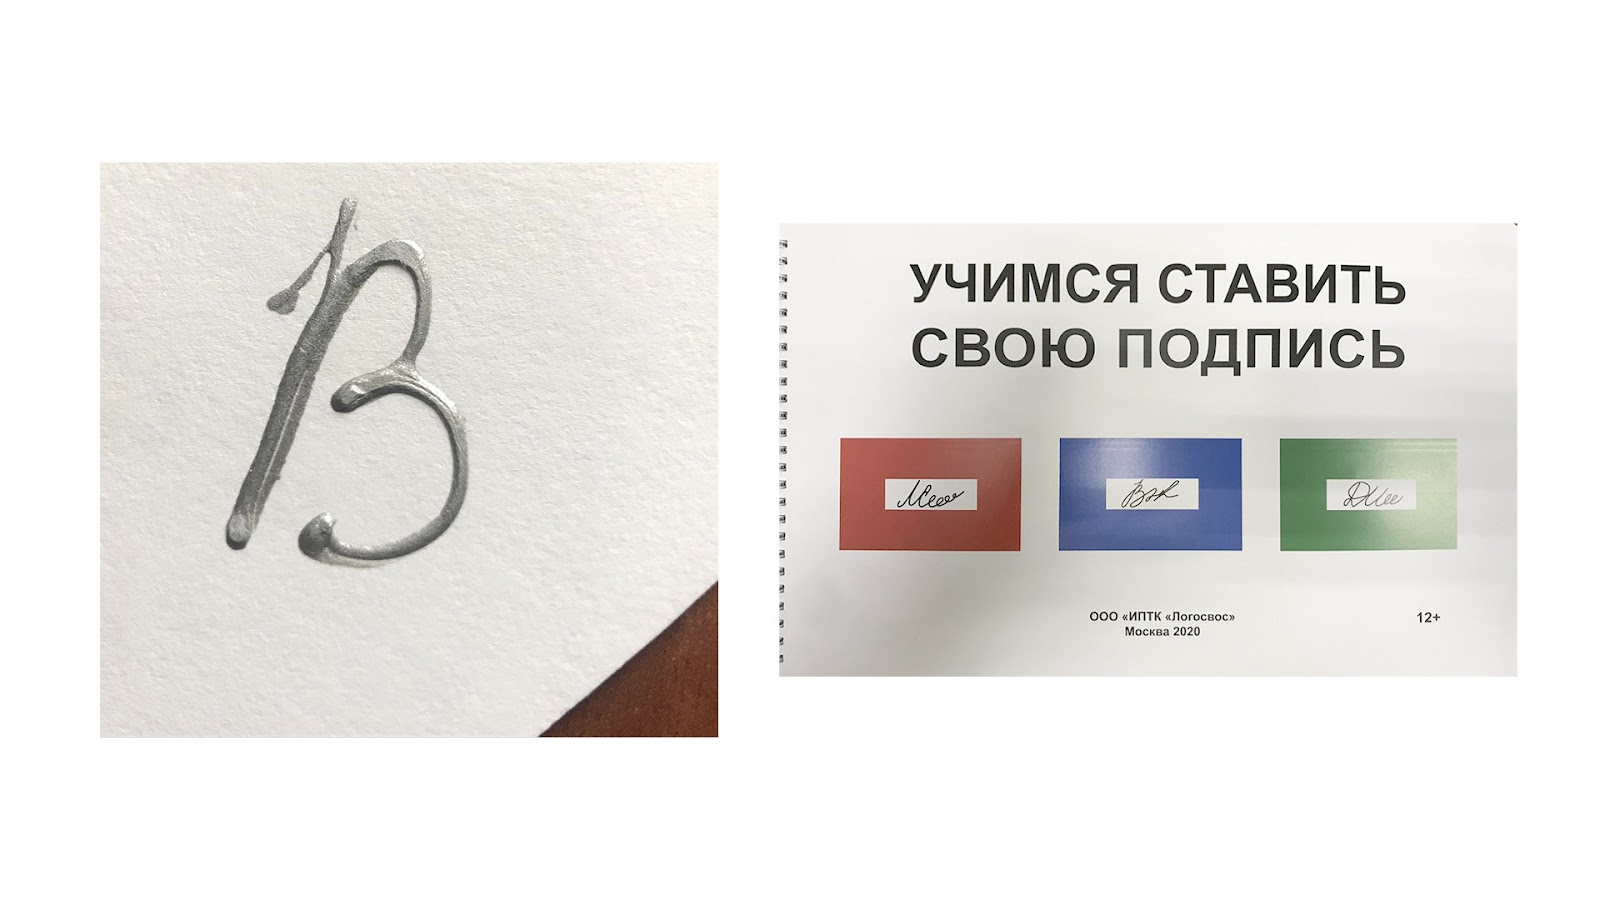
Audio description: a collage made of two coloured photos. The first photo: a capital relief letter B is written in silver paint upon a card with its lower right corner cut off. The second photo: three frames (red, blue and green) with rectangular windows cut out in the centre are lying against white background. Inside each window one can see a signature. Over the frames, there is a title saying Learning To Sign Your Name.
After studying relief signature samples, one should get down to learning to write said signature or initials, at first using the sample and then by memory, on sand (a box may be used to put sand into) or on Shkolnik aid for relief drawing. In the process of learning, at first the teacher is writing the signature with the hand of the pupil while explaining in detail how the letters should be written. The teacher should use associations which are understandable for the child, it will help him or her learn the skill faster and remember it better. Example: "We are drawing a straight line downwards, it is the ‘back’ of the letter. Then we go up along the same line and then to the right, and draw a slightly curved line, it will be the ‘head’. Keeping the tip of the pen on the paper all the time, we are drawing a bigger curve under the ‘head’, this will be the ‘belly’. And now we have a capital B".
When a child has difficulties, the teacher (mentor) shows the child how to write the letters of his or her signature while holding the child's hand in their own (paired actions method). The teacher stands behind the pupil, takes his or her hands and makes all the necessary movements, writing with the child's hands and commenting on all the details of the letters in the signature.
The next stage is when students are writing their signatures using a special frame.
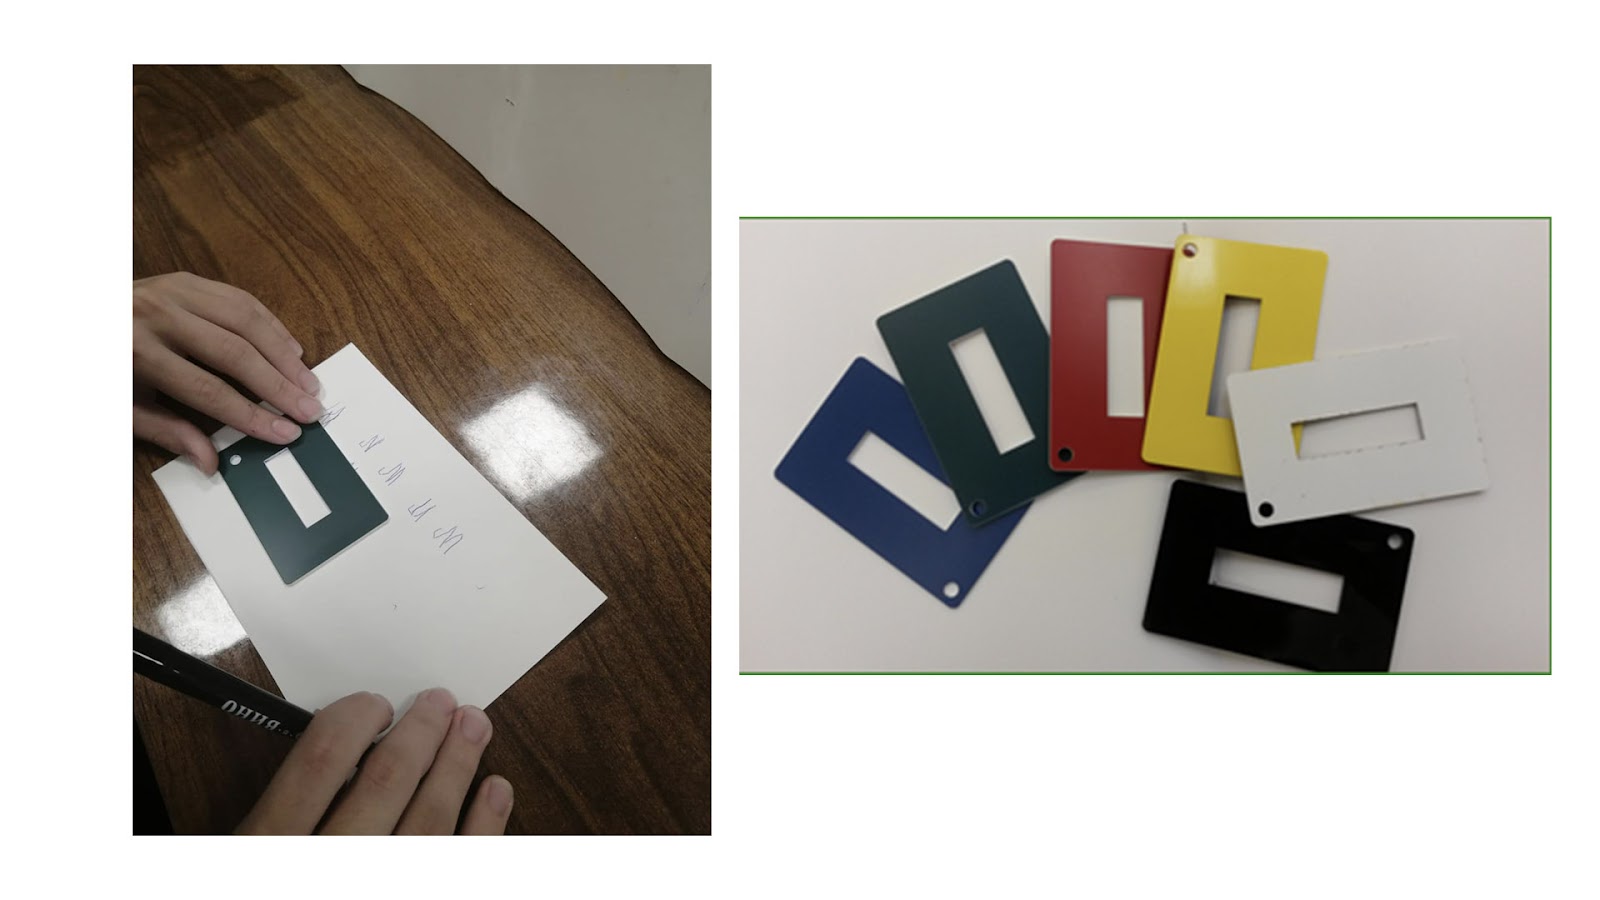
Audio description: a collage made of two coloured photos. The first photo: a white sheet of paper lies on a brown table. A person is training to sign their name using a limitation frame with a window cut out in the centre. Several capital M’s can be seen above it. The second photo: six limitation frames in different colours are lying against white background spread out like a fan.
A frame for the signature is a rectangle with a 1.2 by 4.5 cm window cut out of it, which is the approximate size of a standard signature. Such size of the signature is optimum for all types of documents: passport, records, reports, contracts, payment orders, permits for medical services and so on. The colour of the frame should contrast the colour of paper, so as to make it easier for a person with residual vision to find a proper place for the signature on a piece of paper. Upon a request of a sightless person, the limitation frame is set over the place for the signature.
The frame is equal in size to a standard plastic card, so it can be kept in a special wallet pocket and easily retrieved when needed.
After the pupil has written the signature several times, the teacher (mentor) should note those samples that are most aptly written, and, if necessary, show what needs to be added. The teacher must acknowledge the result and praise the child. Emotional reinforcement gives joy and satisfaction after a job well done. The results of the creative process may be different: the initials may be easily read, or may look like a "little snail", a "blizzard", or a "signature of a big boss" and so on.
Signing one's name must definitely become automatic. Unfortunately, at first stages without training the skill is not stable. Common mistakes: multiple writing of a signature on the same spot, a letter too distorted lengthwise, dragging a pen along the frame, drawing around the frame, putting too much pressure on the pen (as much as on a pencil), checking the space inside the frame with one's fingers, that leads to the pen leaving no marks, and so forth. The mistakes can be easily corrected given attention.
Sightless people need special skills and knowledge to fulfill certain practical tasks without visual control, and if a person has residual or poor vision they must apply such amount of control that will not lead to visual overloads. Special skill means aesthetic, precise and swift performance of a practical task. Acquiring a complex of such skills helps sightless and partially sighted people (in some or even in most cases) compensate for the partial or total loss of eyesight.
One should take into consideration that letters in a signature of a sightless or a partially sighted child will not always resemble the desired original, but it will be his or her own signature that will not be easily reproduced by another person.
In 2020, Learning To Sign Your Name manual compiled by S.G. Buyanova and edited by V.Z. Deniskina was published in the Logosvos periodical for the sightless. Among other information, it contains relief letters and signature samples, as well as examples of placing a signature inside the limitation frame.